6 Reasons & Fixes For Trailer Battery Not Charging F150
Having an F150, one should be aware that a reliable trailer battery is necessary for a smooth ride. If the battery is not charging, there are a few steps that should be taken.
So, why is the trailer battery not charging f150?
The main causes of this issue include corroded or loose battery connections, incompatibility, and a malfunctioning voltage regulator. Other potential causes are a faulty fuse, overcharging, and an old battery. The solutions are fairly easy and involve cleaning or replacements.
This guide will help you get your trailer battery back up and running, so you can get back on the road.
Diagnosis of Trailer Battery Not Charging F150
To determine why is the trailer battery not charging, you need to understand the charging system and trailer wiring harness. Once the source of the issue is identified, restore the proper charging of the trailer battery.
The F150 may display a trailer connected, a trailer disconnected, or a trailer battery not charging message when the trailer is not attached. This is exhibited specifically in some of the 2015-2016 F150 models.
Reprogramming the Trailer Module (TRM) to the latest calibration with IDS version 96.01 or higher can solve the issue. For the 2016 F150 models, the IDS version should be 98.04 or higher.
The Service Labor Times Standards manual recommends using causal components 19H332 or 2C006, and applicable 12651D labor operations from Section 10 for reprogramming only. To troubleshoot the issue, the first step is to assess the software for the latest update and recalibrate the system.
If it does not work, inspect the 7-way trailer harness connectors if there is any wear or corrosion. Use an air hose to blow them out and then apply dielectric grease to the terminals before plugging them in. Make sure you are using the recommended SAE J2863-compliant connectors for the trailer.
Putting up grease will protect the plugs and the truck side from moisture and won’t affect the power flow. If there is water in the trailer tower connectors, dry them and leave the vehicle for a while. Your trailer should be charging fine now.
There are several potential causes of the trailer battery not charging. If the calibration and greasing method don’t work, troubleshoot F150.
6 Reasons and Solutions for Trailer Battery Not Charging F150
| Reasons | Symptoms | Solutions |
| Corroded Or Loose Battery Connection due to Trailer Battery Not Charging F150 | Difficulty Starting The Engine | Clean And Tighten The Connections |
| Not Compatible With The Charging System | Engine Stalling | Get The Compatible Battery |
| Malfunctioning Voltage Regulator | Sputtering Engine | Replace The Voltage Regulator |
| Faulty Fuse, or Relay | Loss of Power | Replace The Fuse or Relay |
| Battery Overcharged | Battery Gets Hot When Charging | Let The Battery Drain |
| Old Battery | Slow Crank | Replace The Battery if trailer battery not charging F150 |
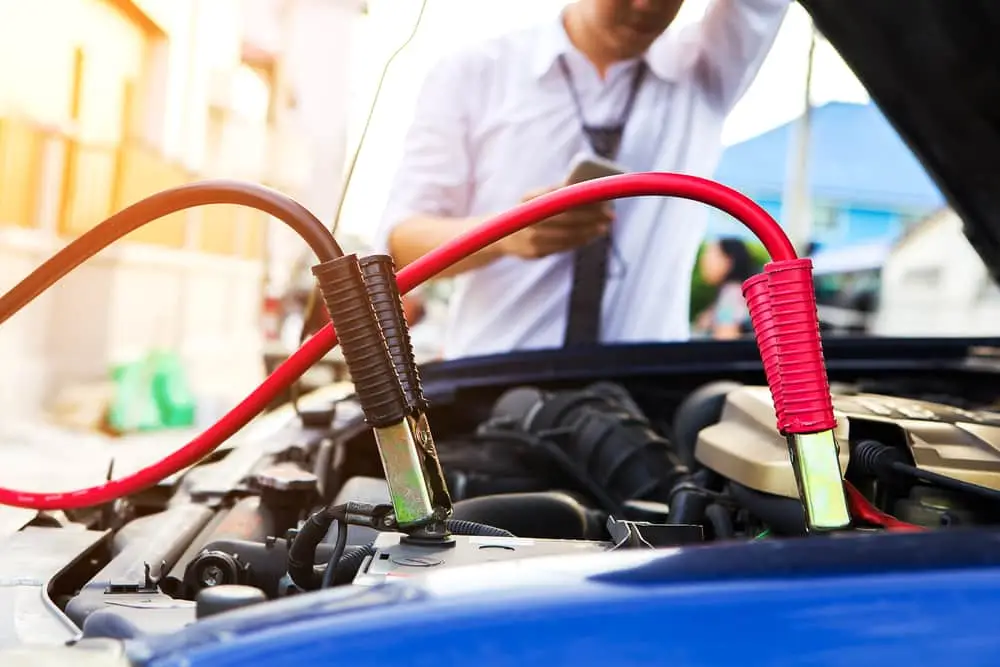
Reason 1: Corroded Or Loose Battery Connections
The fastening of car battery connections can deteriorate over time due to various causes, such as moisture, road salts, and battery acid. Also, vibration and the buildup of dirt, debris, and oils can cause the connections to loosen, resulting in corrosion.
There can be problems with brake controller connections too. If your trailer’s brake controller is not properly connected to your Ford F150, this could cause this issue.
Symptom: Difficulty Starting The Engine
The symptoms are difficulty in cranking the engine, slow cranking, clicking when trying to turn the engine over, dim headlights, and a loss of power when the engine is running.
In extreme cases, the car may not start at all, and the battery may appear to be dead or may not hold a charge. The Ford making a clicking noise even after turning off may also be a common symptom.
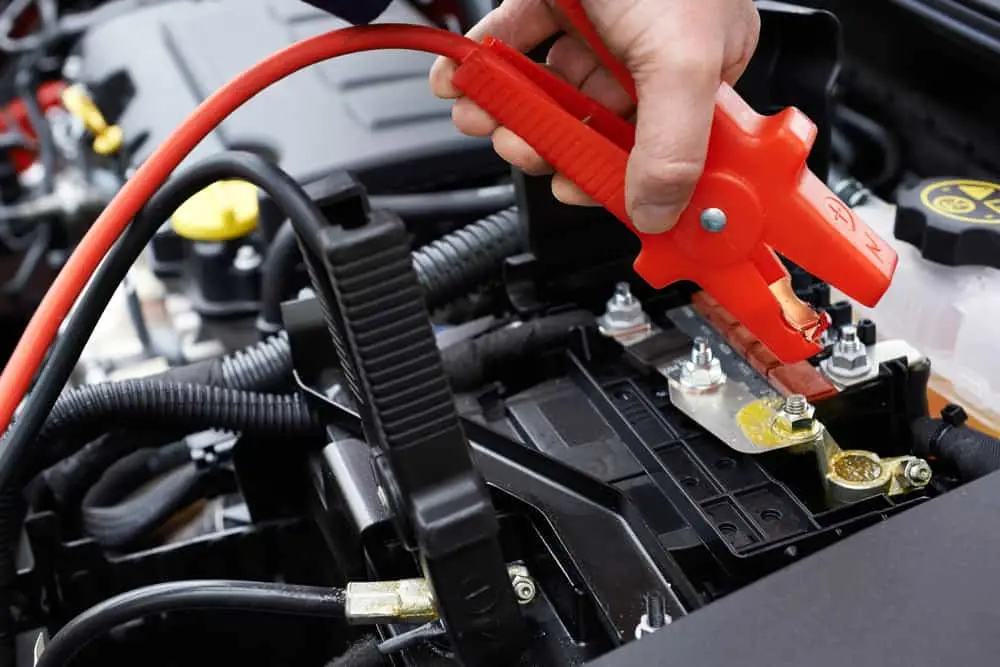
Solution: Clean And Tighten The Connections
The process of cleaning or lubricating corroded battery connections and tightening them requires using a wire brush and a corrosion protection spray.
- Take the wire brush and use it to scrub off any built-up corrosion from the battery terminals.
- Then, apply an anti-corrosive spray or gel to the terminals to help prevent further corrosion.
- Use a conductive grease to lubricate the terminals and help ensure an even, secure connection.
- The terminals should be tightened to the battery posts using a wrench, and this will complete the process.
This process will help ensure that the battery terminals connect effectively with the posts and charge properly again.
To tighten the connections:
- Start by turning off the car engine and disconnect the negative cable
- Use a wrench to loosen the nut connected to the negative cable and then disconnect it.
- Clean any corrosions in the ways suggested above.
- Re-attach the negative cable by tightening it securely with the use of a wrench
- Do the same for the positive cable
Once the cables are securely attached, start the engine and check the connections for any signs of corrosion or looseness. If all pans out well, the battery should start charging.
However, In the case of the brake controller issue, check the small 7-pin connector that carries the load. Make sure all the connections are tight, by performing the functions explained above.
Reason 2: Not Compatible With The Charging System
It can be possible for Ford F150 to provide a battery that is incompatible with the charging system. This usually happens when a vehicle is purchased with an aftermarket battery that is incompatible with the charging system.
Using an aftermarket battery in a vehicle can lead to issues such as excessive charging, voltage drop, and even battery failure. And so, the battery may not be able to hold a proper charge, objectively making things difficult in starting or running the vehicle.
Symptom: Engine Stalling
Common signs of this type of stalling include the engine not starting when the ignition is turned on and the engine dying suddenly when the accelerator is pressed.
You may notice smoke coming from the engine bay or a smoke-like haze around the alternator. It can cause the ford engine dying immediately after you start the engine.
Solution: Get The Compatible Battery
To find a compatible battery for Ford F150, it is necessary to identify the model and year. This information can be found in the owner’s manual or vehicle registration.
Research the battery specifications recommended for the particular F150 model. These specifications are usually provided online or in the vehicle’s user guide.
When selecting a battery, purchasing from a reputable dealer with a warranty is important. Always be sure to follow the manufacturer’s instructions for installation and charging.
Reason 3: Malfunctioning Voltage Regulator
A F150 car battery voltage regulator malfunctions when it does not regulate the voltage coming from the alternator to the battery. This causes the battery not to charge properly, as it may not receive the correct voltage it needs to charge.
Without the proper voltage, the battery will not charge and eventually die. The voltage regulator can malfunction for various reasons, such as a bad connection, a failing alternator, or a defective regulator.
Symptom: Sputtering Engine
The common symptoms are erratic engine performance, stalling, a check engine light coming on, dim headlights, and slow engine cranking when starting.
A faulty voltage regulator can also cause other electrical components, such as the alternator, spark plugs, and fuel injectors, to malfunction. These issues can easily shut off the vehicle from operating entirely.
Solution: Replace The Voltage Regulator
The process of replacing the voltage regulator inside the car can be broken down into a few steps. The tools needed to replace a voltage regulator include a wrench set, a screwdriver, and a ratchet set.
- As explained before, disconnect the battery and remove the negative cable.
- Then, remove the mounting bolts that secure the voltage regulator to the car’s engine compartment.
- Unplug the wiring harness from the old voltage regulator and remove the old regulator from the engine compartment.
- Next, install the new voltage regulator into the engine compartment, ensuring that the mounting bolts are securely tightened.
- Reconnect the wiring harness to the new voltage regulator and reconnect the battery.
As you have worked with the process with 100% accuracy, start the car and check to ensure the voltage regulator is working properly. You can use Boost Maintainer and Auto Desulfator to start your engine or diagnose any electrical issues.
Reason 4: Faulty Fuse or Relay
A faulty fuse or relay in a car can prevent the battery from charging due to a lack of electrical current. The fuse or relay is responsible for connecting the battery to the charging system; when it fails, the battery will not receive the necessary power to charge.
Various issues, such as a blown fuse, a faulty relay, a broken wire, or a faulty charging system, can cause this. With this, check out the symptoms of the faulty fuse or relay.
Symptom: Loss of Power
When a fuse or relay fails to charge the battery, the car will start to experience a loss of power. Common symptoms of this fault may include difficulty starting the car, warning chime, and engine stalling.
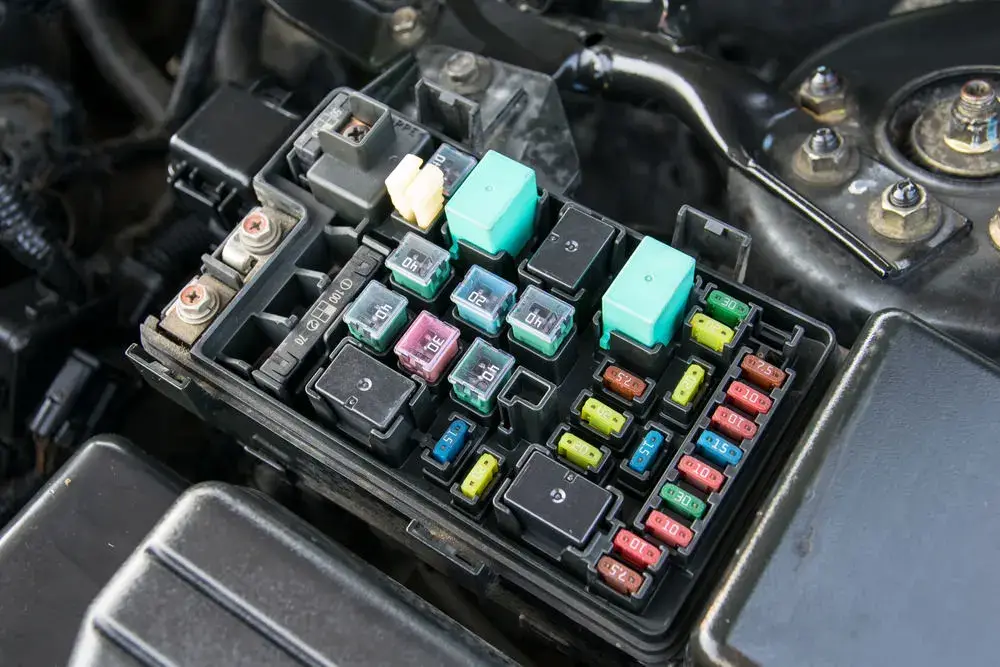
Solution: Replace The Fuse or Relay
The process of installing a new fuse or relay inside the Ford to ensure proper battery charging involves a few steps. The necessary tools you need such as wrenches sockets and pliers are mentioned before, and so here is how all the steps would work:
- Locate the fuse box in the vehicle. This is usually located underneath the dashboard and may be labeled as a “Fuse Box” or “Power Distribution Center.”
- Remove the old fuse or relay and replace it with the new one. Make sure to check the amperage rating of the replacement fuse or relay to ensure that it is the correct one.
- Reconnect all the wires connected to the new fuse or relay and ensure that all connections are secure.
After the whole operation is completed, start the car and check the electrical system to ensure the battery is properly charging. If there are any issues, check the new fuse or relay for any loose connections or get further advice from qualified mechanics.
Reason 5: Battery Overcharged
When a car battery is overcharged, the battery cells will become over-pressurized, increasing the internal temperature of the battery. This will cause the electrolyte in the cells to start to boil, creating bubbles of oxygen and hydrogen gas.
The bubbles will then start to escape through the battery’s vent system, creating a gas that can be hazardous to breathe. Furthermore, the overcharging battery damages the plates inside, decreasing the battery’s capacity to hold a charge.
This can cause the battery not to charge properly anymore, and in some cases, it may not be able to hold a charge.
Symptom: Battery Gets Hot When Charging
Symptoms of an overcharged car battery include excessive heat, a smell of rotten eggs, and a swollen battery case. Subsequently, an overcharged car battery can lead to decreased battery life and reduced electrical system performance.
Solution: Let The Battery Drain
The probable solution is to let the car battery drain, start the car, and let it idle for 10-15 minutes. This will allow the battery to discharge naturally and prevent it from becoming overcharged.
After that, turn off the car and disconnect the negative terminal cable from the battery. Ensure the battery is disconnected for a minimum of 30 minutes before re-connecting the cable and starting the car. This will allow the battery to charge properly and help it to last longer.
If this process doesn’t work, simply replace the battery, and we will explain how to do so in the next segment.
Reason 6: Old Battery
When an old car battery begins to fail, it may not hold a charge as it did when new. This is due to several factors, such as sulfation and corrosion of the battery cells. These prevent the battery from taking and holding a charge properly.
As the battery ages, sulfates and other compounds accumulate on the plates, reducing their surface area and making them less effective for chemical reactions.
Symptom: Slow Crank
When a car battery is old, it may experience slow cranking. This can be caused by a decrease in the amount of energy stored in the battery, which can reduce the amount of energy being transferred to the starter.
This can lead to a longer cranking time, and a noticeable decrease in the engine’s sound may occur when starting the car.
Solution: Replace The Battery
To install a new car battery, you will need to gather the necessary tools: a wrench and a pair of pliers.
- Locate the battery in the engine bay of your car. This is usually found near the back of the engine bay, close to the firewall.
- Use the wrench to loosen the terminals of the battery. The positive and negative terminals are usually marked with a + and – symbol, respectively.
- Next, the pliers can disconnect the terminals from the battery. Once the terminals are disconnected, you can remove the old battery from the engine bay.
- Finally, you can install the new battery by connecting the terminals and tightening the bolts with the wrench.
- Make sure the battery is securely tightened in the engine bay, and the positive and negative terminals should be connected accordingly.
Tips & Tricks For F150 Battery To Charge Properly
Here are some essential tips for charging F150 batteries in the most efficient manner possible:
- Check the Battery’s Voltage and State of Charge: Before attempting to charge the battery, you should use a multimeter to check the voltage and the battery’s state of charge.
- Use the Right Charger: Make sure you use a charger compatible with the F150 battery.
- Follow the Manufacturer’s Instructions: You should always refer to the manufacturer’s instructions when charging the F150 battery.
- Monitor the Charging Process: You should always monitor the charging process to ensure the battery is properly charged.
- Check the Battery After Charging: After charging, you should check the battery for any signs of damage or corrosion.
Following the above tips can help you ensure that your F150 battery is properly charged. Always ensure you follow the manufacturer’s instructions, use the right charger, and monitor the charging process.
Frequently Asked Questions (FAQs):
Does my trailer battery charge when plugged into the vehicle?
Yes, when your trailer is plugged into your vehicle, the battery will be charged due to the alternator’s ability to convert the engine’s mechanical energy into electrical energy. The charging speed will depend on the size of the trailer and the type of alternator installed in the car.
How long does it take for a trailer battery to charge?
The trailer battery charging time depends on the size of the battery and the amount of charge it has left. On average, it takes about 10-12 hours to charge a fully depleted trailer battery. Charging time can be reduced to as little as 4-6 hours if the battery is only partially discharged.
What charges a trailer battery?
A trailer battery is typically charged by a vehicle’s alternator while driving, or by a charger when plugged into an electrical outlet. The charger converts the AC power to DC power, providing the correct voltage and amperage to charge the trailer battery.
Bottomline
In conclusion, a trailer battery not charging F150 may be caused by a range of issues, from a dead battery to a faulty connector. If the problem persists, it is best to consult a professional to ensure the issue is resolved quickly and safely.
Wish you all the best, we are leaving, bye for now!